
Grim Fandango: Complete Puzzle Guide
Grim Fandango is a classic adventure game that follows Manny Calavera, a travel agent in the Land of the Dead. His journey takes him through four years of mystery, unusual characters, and...
Grim Fandango is a classic adventure game that follows Manny Calavera, a travel agent in the Land of the Dead. His journey takes him through four years of mystery, unusual characters, and puzzles that often require combining objects or revisiting locations.
This guide covers the main progression puzzles in each year, helping you move forward when the game’s clues are not obvious. Spoilers ahead, including important story events.
Year One: El Marrow and the Petrified Forest
1. Get a driver and leave the office
After the opening scene, read the message in Manny’s office mail tube and take a single playing card from the desk. Visit Eva and ask about the poisoning and the driver situation. Use the card on the hole punch to create a punched card.
Take the elevator to the basement and speak to Glottis. When he says he is too big to drive the cars, tell him, “You’re not too big, the cars are too small.” Take the work order he provides back to Eva. Since she refuses to sign it, continue exploring the lobby and street to find the clown and the items needed for the next part of the puzzle.
2. Use the balloons and the mail system
The clown can make special balloons. Collect the balloon items and use the appropriate combinations with the chemicals found during your exploration. These items help you create a substitute package that can be used to interfere with the office mail system.
Return to the office and use the prepared items where the mail puzzle requires them. If the sequence does not work, examine the objects in your inventory and make sure you have collected the necessary supplies from the clown and the office areas.
3. Rescue Glottis and cross the forest
Later, Manny must help Glottis after he loses his heart. Search the surrounding area carefully and use the objects you find to recover the heart from the webbing. Return it to Glottis to get him moving again.
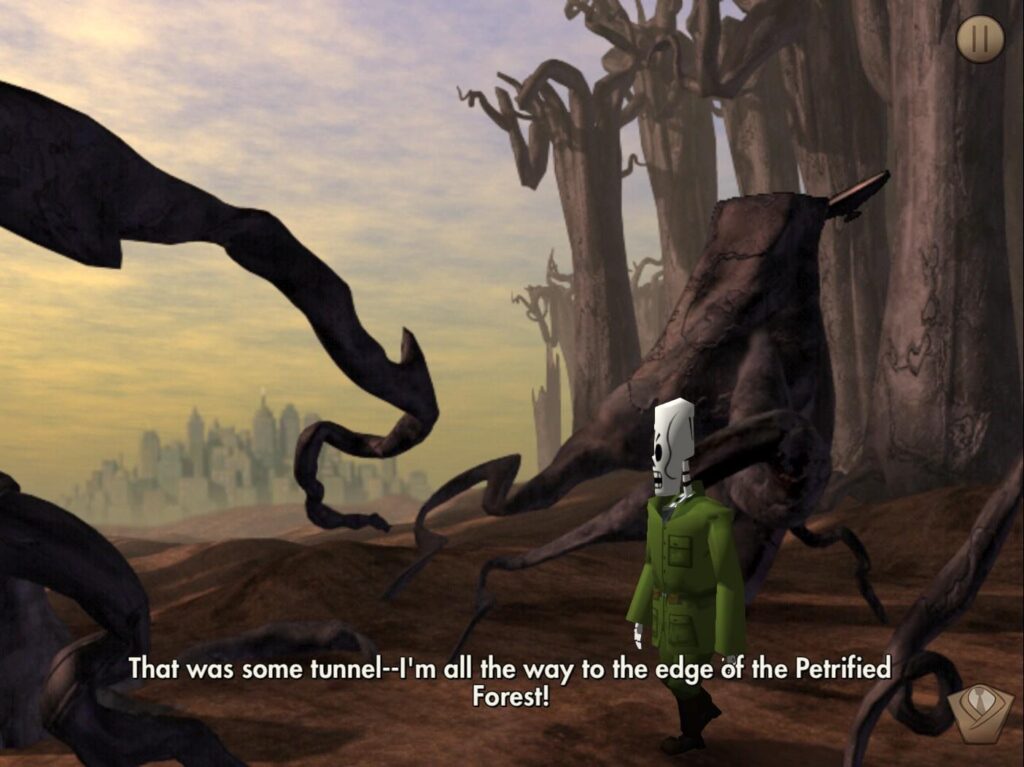
In the Petrified Forest, explore the paths and examine the unusual trees, bones, and mechanical structures. The key is to collect the items needed to repair the transport and manipulate the forest’s mechanisms. If a path seems blocked, look for a nearby object that can interact with the obstruction rather than repeatedly trying to walk through it.
Continue following the clues until Manny reaches Rubacava.
Year Two: Rubacava
1. Investigate the port and the union
Manny spends this year trying to find Meche and gain access to the ship. Explore the docks, casino, and surrounding businesses, speaking to everyone who might know something about the port.
To progress with the union storyline, you need to obtain the correct union credentials. This involves gathering information and using the photography equipment to create the evidence required for the membership process. Make sure to examine the photographs and related items in your inventory, as their details are important to the solution.
2. Deal with the ship’s crew
The ship’s crew and dockworkers provide several clues about what Manny must do next. Speak to the workers, investigate their equipment, and collect the items connected to the ship’s departure.
When you need access to restricted areas, look for ways to distract the crew or use their own procedures to your advantage. The game often expects you to combine information from different characters rather than solve each conversation in isolation.
3. Stop Glottis from gambling
Glottis’s gambling problem becomes a major obstacle. Investigate the casino’s roulette setup and look closely at the equipment used by the staff. The solution involves manipulating the game’s machinery with an item collected during your exploration.
If the casino puzzle seems impossible, revisit the dock and nearby locations for tools you may have overlooked. Once the machinery has been set up correctly, use it at the appropriate moment to trigger the next story event.
Year Three: At Sea and Beyond
1. Escape the ship
Manny’s time at sea includes a puzzle involving the ship’s anchors and controls. In the engine room, learn which buttons raise and lower the anchors and which levers move the ship.
Raise the anchors as needed, then use the controls to reposition the vessel. The important trick is to arrange the anchors so they become tangled. Once they are positioned correctly, use Manny’s scythe through the nearby opening to interact with them and complete the escape sequence.
2. Explore underwater
After leaving the ship, explore the underwater area and speak to Chepito. Keep talking to him and use the available dialogue options to learn more about his situation and continue the journey.
Search the area around the seabed and the edge of the illuminated path. The next steps depend on interacting with the characters and objects found there, so check each new area before moving on.
3. Confront Domino
Eventually, Manny reaches Domino and discovers more about the events surrounding Meche. Explore the facility thoroughly and collect the objects that can be used to operate its machinery.
When you reach the final confrontation, do not rely on a direct fight. The solution depends on the environment and the objects available nearby. Examine the machinery, look for a way to gain an advantage, and use the relevant item to complete the sequence.
Year Four: Return to the Department of Death
1. Find the way forward
The final year brings Manny back to familiar locations, but several puzzles must be completed before he can confront Hector. Explore the temple and surrounding areas, collecting useful objects and talking to returning characters.
Open Bruno’s coffin and take the mug he throws out. At the station, speak to Chepito until he proceeds through the gateway. Before leaving, make sure to receive the message from the Gatekeeper, as it becomes important later.
2. Work with Glottis and the mechanics
Return to the small building near the cable and speak to Glottis and the mechanics. Their equipment and the surrounding machinery provide clues for the next stage.
Inspect the machinery carefully and test how the available objects interact with it. If you are stuck, revisit the station and temple to make sure you have collected every important item and received the necessary dialogue.
3. Prepare for the final confrontation
As the story approaches its conclusion, Manny must overcome obstacles involving disguises, gardening equipment, and the machinery used by Hector’s operation.
Explore each room, examine suspicious objects, and combine inventory items when their descriptions suggest a connection. Several solutions depend on using an object in the correct place rather than simply speaking to every character.
Continue through the final areas after completing the environmental puzzles. The remaining sequences bring Manny’s investigation to its conclusion and resolve the mystery behind the corrupt travel system.
Tips for Solving Grim Fandango Puzzles
- Examine every new item. Object descriptions can reveal how a puzzle works.
- Talk to characters more than once. New dialogue may appear after important events.
- Revisit earlier locations. A newly acquired item can make an old area useful again.
- Try using objects on the environment. Many solutions depend on machinery, doors, or unusual scenery.
- Save regularly. This is especially helpful before entering a new area or a major story sequence.
Final Thoughts
Grim Fandango rewards patience, exploration, and creative thinking. Its puzzles often connect objects, conversations, and locations in unexpected ways. Use this walkthrough to get past the major obstacles while still enjoying Manny’s story, memorable characters, and distinctive world.
Guide Complete
You've reached the end of this PlayOn Guide. Good luck on your adventure!